Pour Over
A Guide to Pour Over Perfection
Welcome, coffee lover, to the art of the pour over. This isn’t just making coffee; it’s crafting an experience. Whether you’re new to the game or a seasoned brewer, this guide will help you elevate your cup to barista-level brilliance.
What You’ll Need:
Freshly roasted, high-quality coffee beans (12–15g per 250ml of water)
A burr grinder (because consistency is king)
A gooseneck kettle (for precision and control)
A pour over dripper (Hario V60, Chemex, Kalita Wave – your choice)
High-quality filter paper
A digital scale (weigh your coffee like a pro)
A timer (because every second counts)
Hot water (195–205°F / 90–96°C)
Step-by-Step Guide to Liquid Gold
1. Grind & Prep
Start by grinding your beans to a medium-coarse consistency, similar to sea salt. Too fine? Your brew will over-extract and taste bitter. Too coarse? Under-extraction leads to a weak, sour cup. Find your balance!
Rinse your filter with hot water to eliminate papery flavors and preheat your brewer. Dump the rinse water before you start brewing (trust me, you don’t want a watered-down experience).
2. Dose & Bloom
Weigh out your coffee—about 1:16 coffee-to-water ratio is a great starting point (e.g., 15g coffee to 250g water). Place your grounds in the dripper and give it a gentle shake for even distribution.
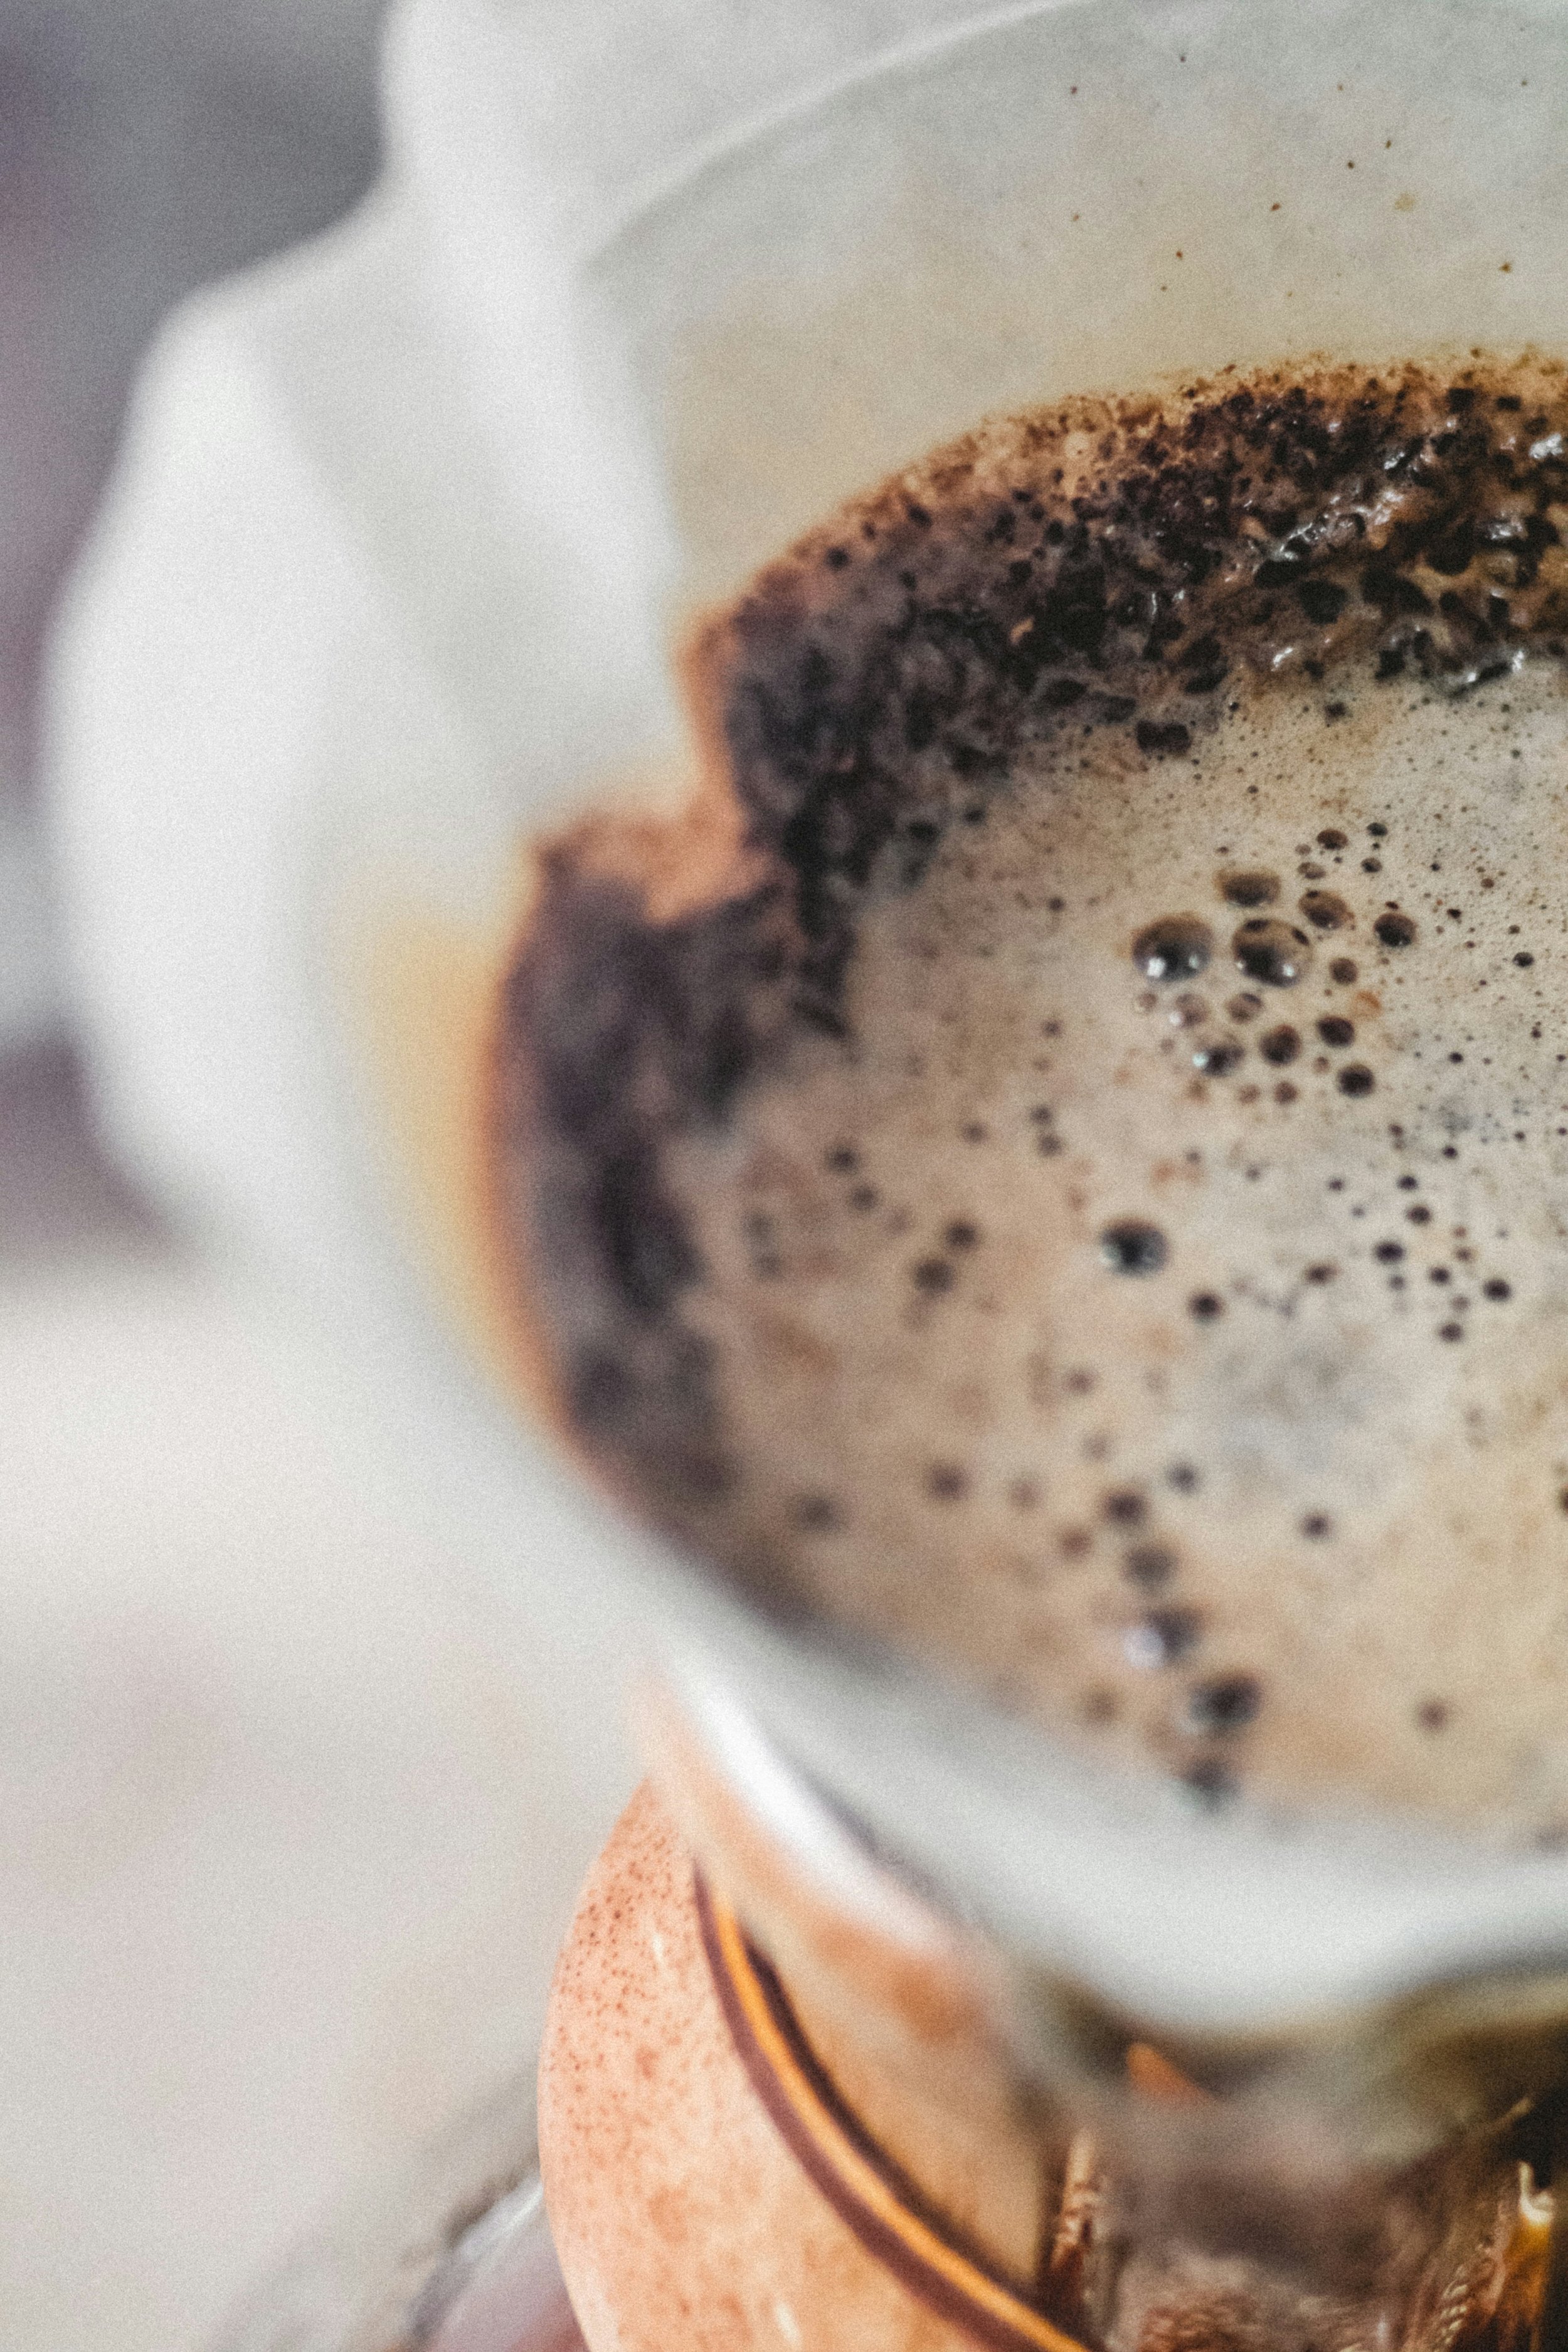
Start your timer and begin the bloom: Pour just enough water (about twice the weight of the coffee) to saturate the grounds. Watch them puff up like a soufflé—this is CO2 escaping, making way for a smoother extraction. Let it bloom for 30–45 seconds.
3. The Pouring Ritual
Slowly pour in concentric circles, keeping the water level even and steady. Avoid pouring directly onto the filter or too aggressively—this is a gentle, meditative process.
Pour in phases, allowing the water to pass through the coffee before adding more. Aim to finish pouring within 2:30–3:30 minutes for the perfect balance of flavors.
4. The Finale
Once the dripping slows, remove the dripper and give your brew a little swirl. Inhale that aroma—notes of chocolate, fruit, caramel? That’s your hard work paying off.
5. Savor & Reflect
Take your first sip. Appreciate the clarity, the complexity, the nuances. No burnt bitterness, no sludge—just clean, vibrant coffee. If something feels off, tweak your grind size, pour rate, or water temp next time. Coffee is an adventure, and every cup is a chance to improve.
Bonus Barista Tips:
If your brew is too bitter, try a coarser grind or shorter brew time. If it’s too sour, go finer or brew a little longer.
Experiment with different beans and origins—Ethiopian for bright fruitiness, Colombian for balanced sweetness, or Sumatran for deep earthiness.
Now go forth and brew like a pro.


